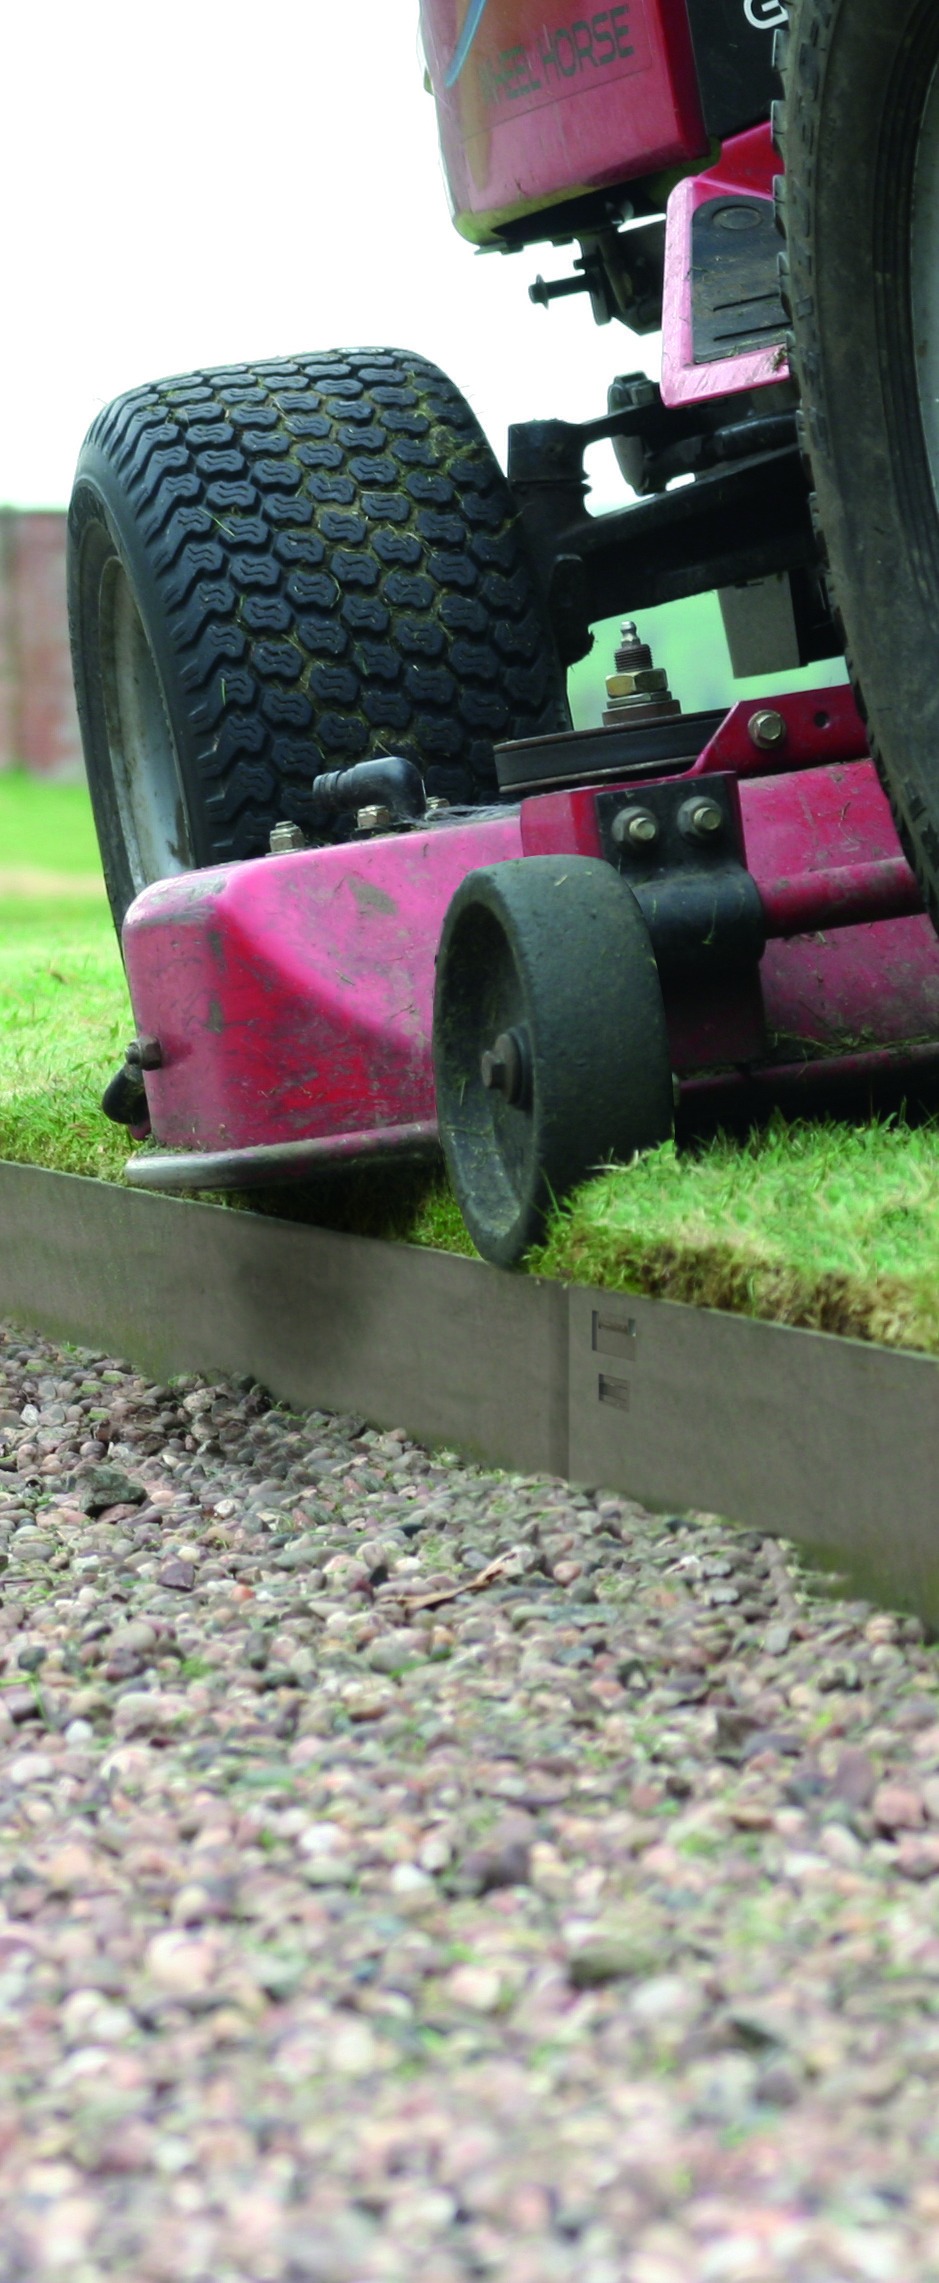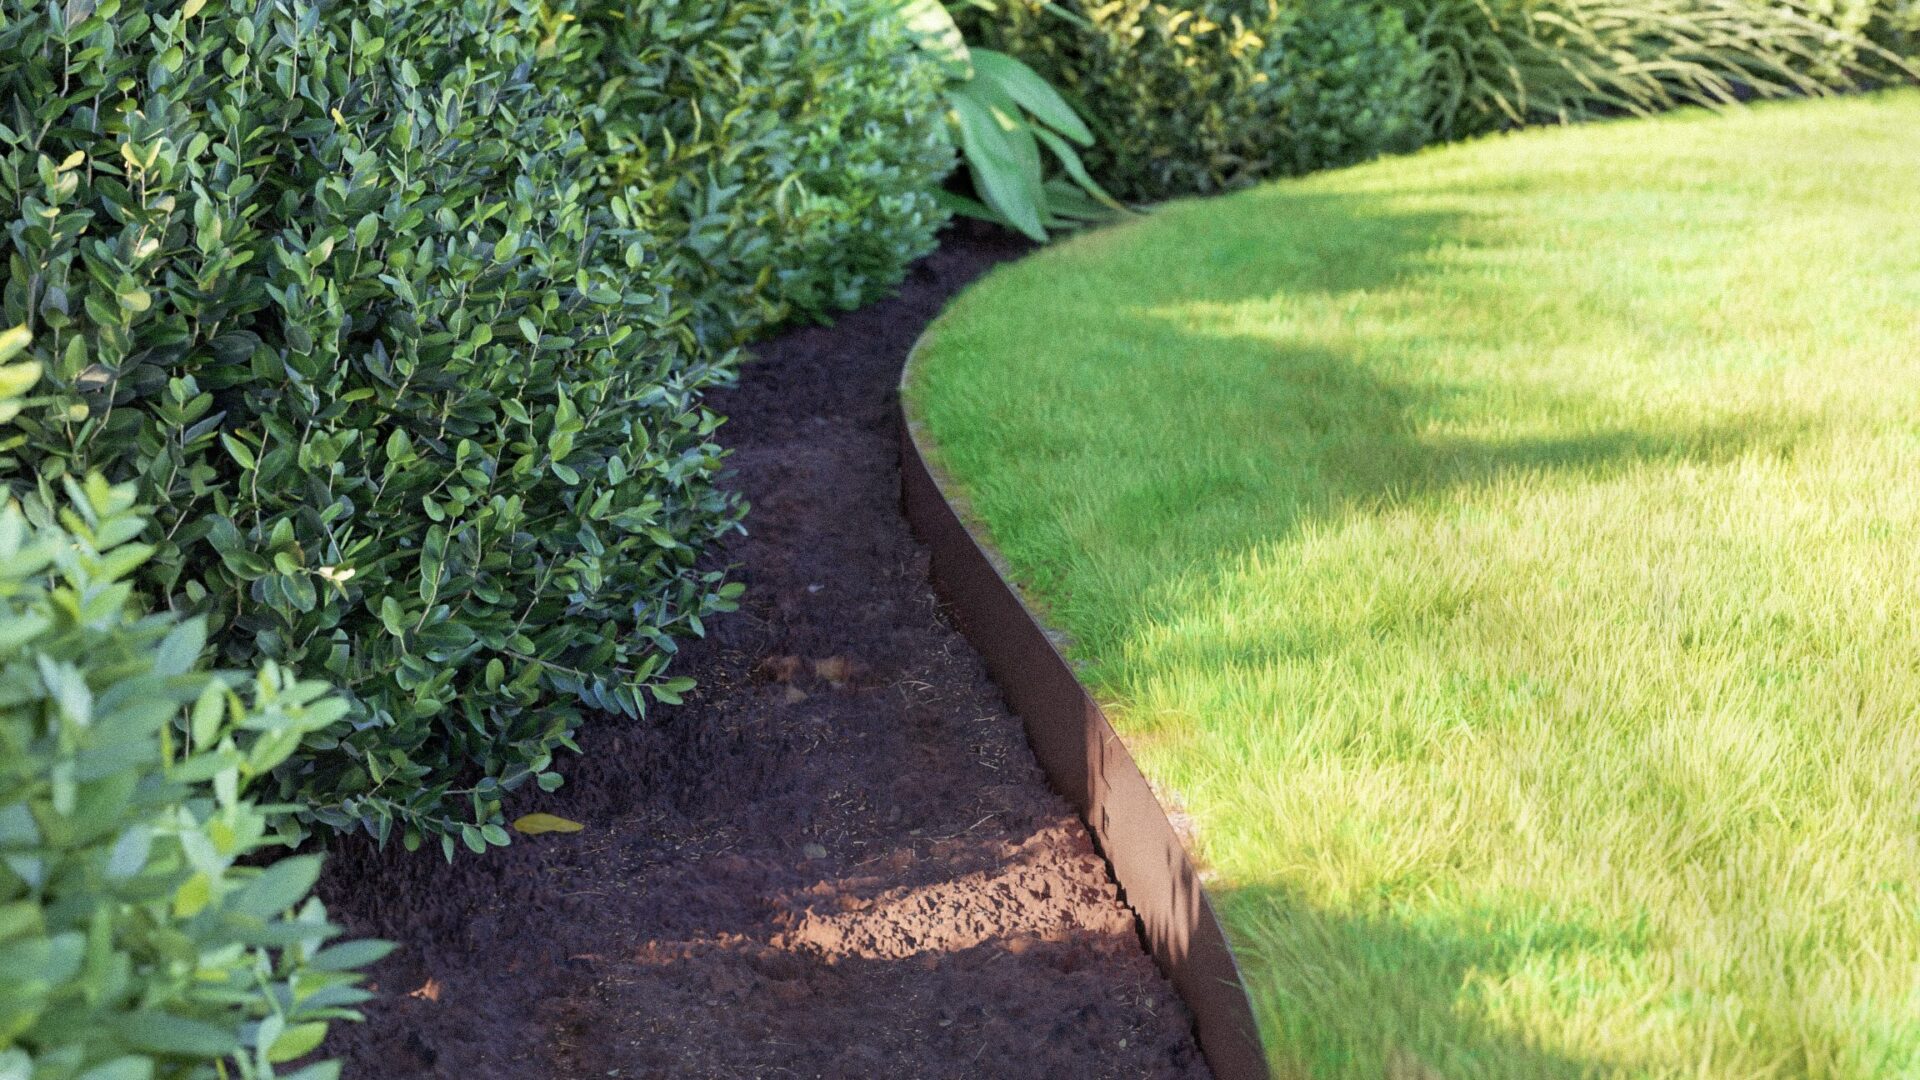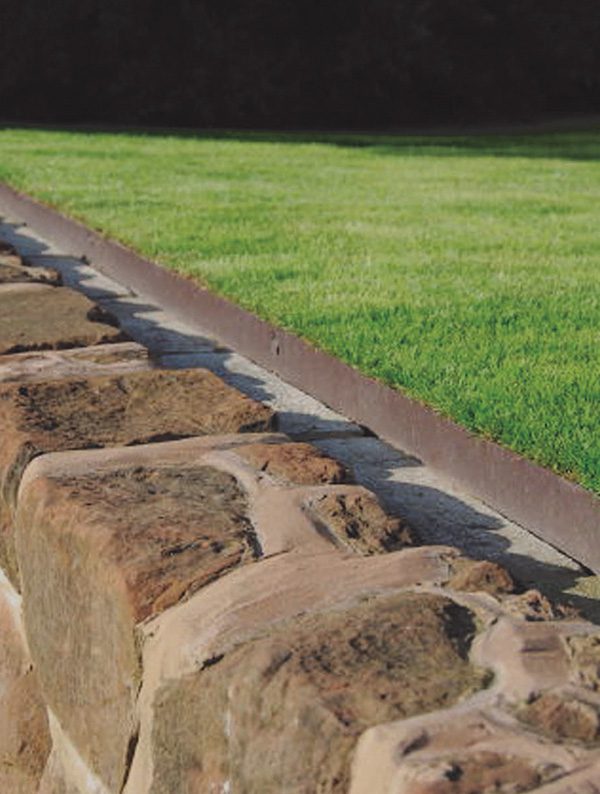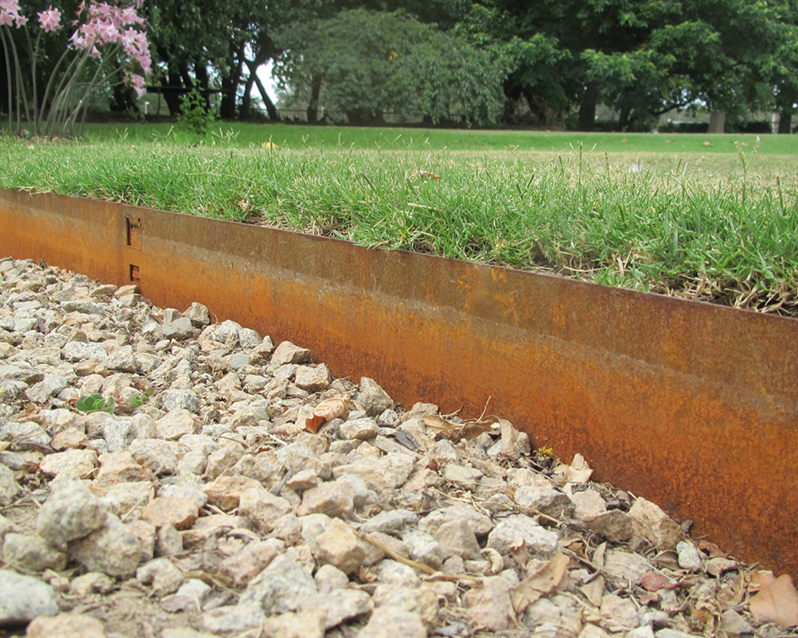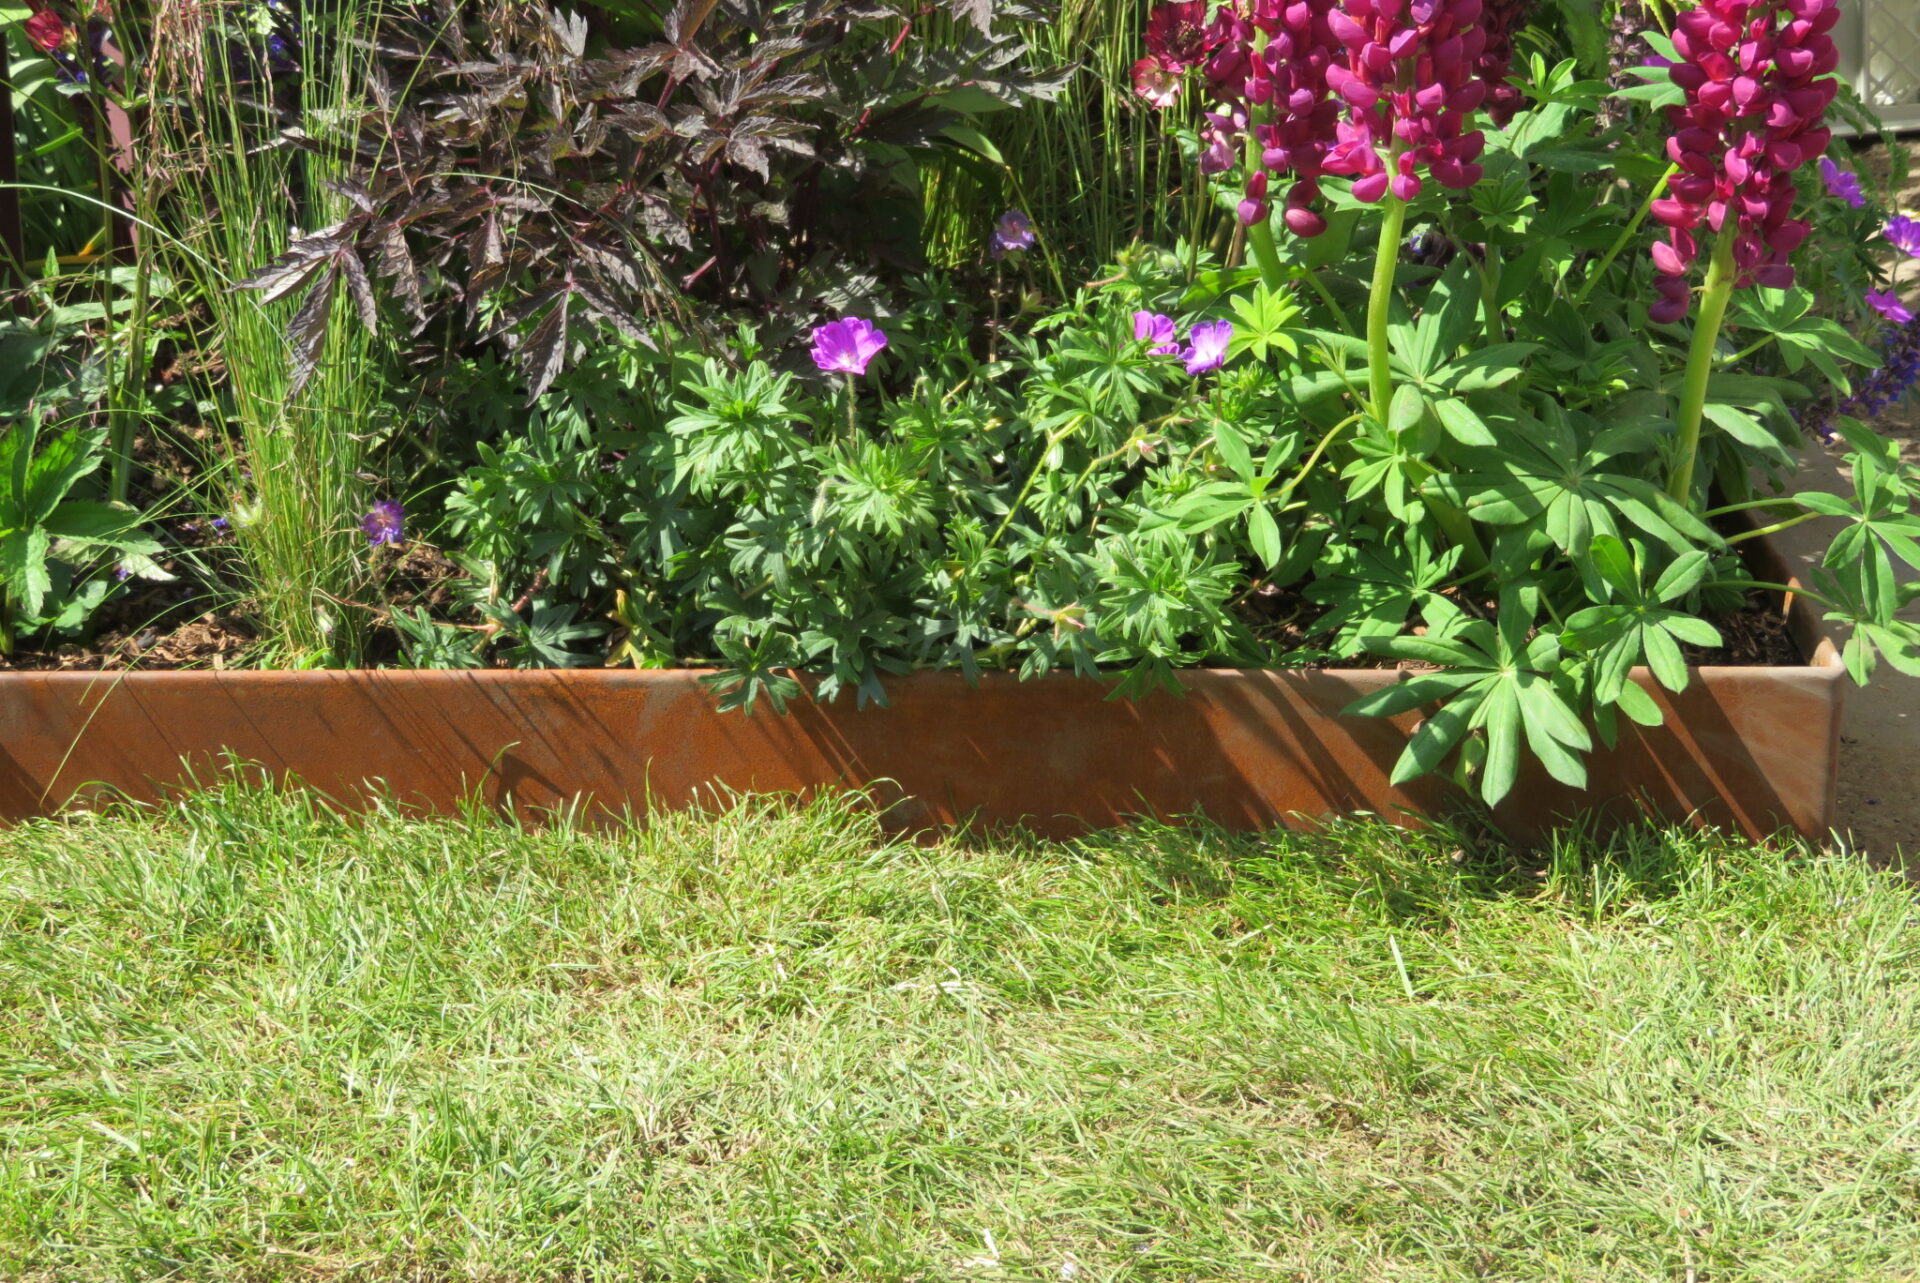
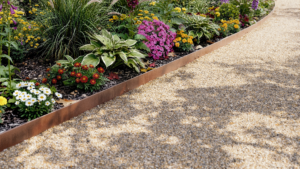

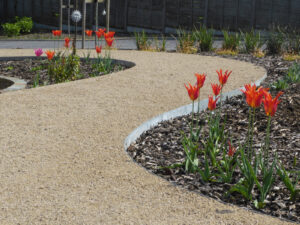


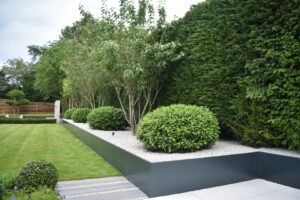
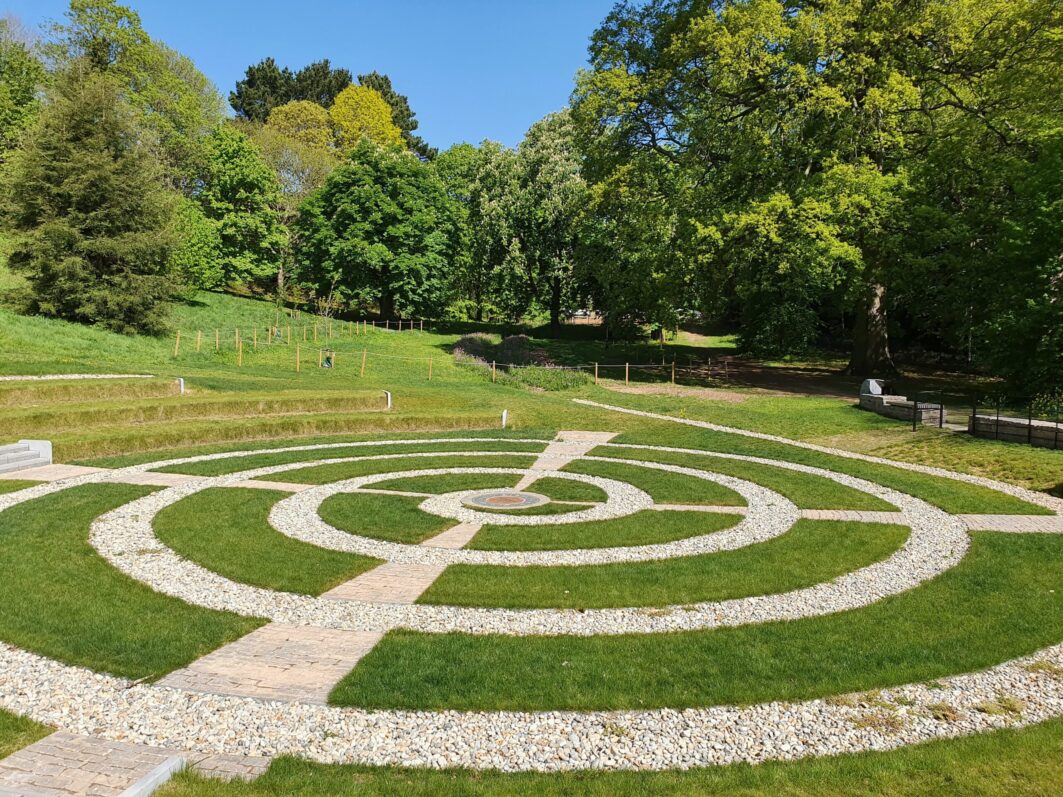
Installing metal lawn edging is one of the most effective ways to create a garden that feels organised, well-maintained and built to last. A clearly defined edge helps separate lawns from flower beds, paths and gravel while giving the overall landscape a cleaner appearance.
Installing lawn edging may sound like a job for a professional, but the process is straightforward with the right products.
The basic steps are simple: simply mark out a border, prepare a narrow channel, position each length of edging, join them up, fix them in place and secure the integrated spikes before backfilling for a clean finish.
This guide takes you through each stage of installing EverEdge Classic in more detail, alongside our installation video, so you can achieve a neat and consistent finish.
Why Correct Installation Matters
A well-installed edge does more than make a garden look tidy. It keeps grass from spreading into borders, stops gravel and other loose materials from moving onto the lawn and creates a clear divide between different areas.
When lawns, borders and pathways stay in their intended place, regular garden maintenance becomes much simpler.
Taking a little extra time during installation will help the edging stay level, secure and reliable for years to come.
Tools You Will Need
No specialist tools are needed for most installations, but before you begin, it can be helpful to have a few simple garden tools ready.
Depending on the ground conditions, this may include:
– A rubber or wooden mallet
– A spade or edging tool
– String line or garden hose for marking the layout
– Tape measure
– Gloves
– Spirit level
Having everything prepared in advance makes the whole process much more straightforward.
Step 1: Mark Out The Edge
As shown in our installation video, start by deciding exactly where the edging will sit.
For a straight edge, use a string line to mark a clear and consistent route. For curves, lay out a garden hose or length of rope until the shape looks right. This makes it easy to adjust the design before any soil is disturbed.
Take a step back and look at the layout from different parts of the garden. Small changes at this stage can make a noticeable difference to the finished result.
Once the position has been decided, the ground can be prepared.
Step 2: Prepare The Ground
Good preparation makes installation much easier.
In particularly stony or hard ground, create a narrow channel along the marked line where needed. It does not need to be wide, but it should give the edging enough room to sit comfortably in position.
Remove any large stones, weeds, roots or other debris that could prevent it from sitting level.
Taking time over this stage will help create a smoother line and reduce the need for adjustments later.
Step 3: Position The Edging
Once preparation is complete, place the first section of EverEdge Classic into position.
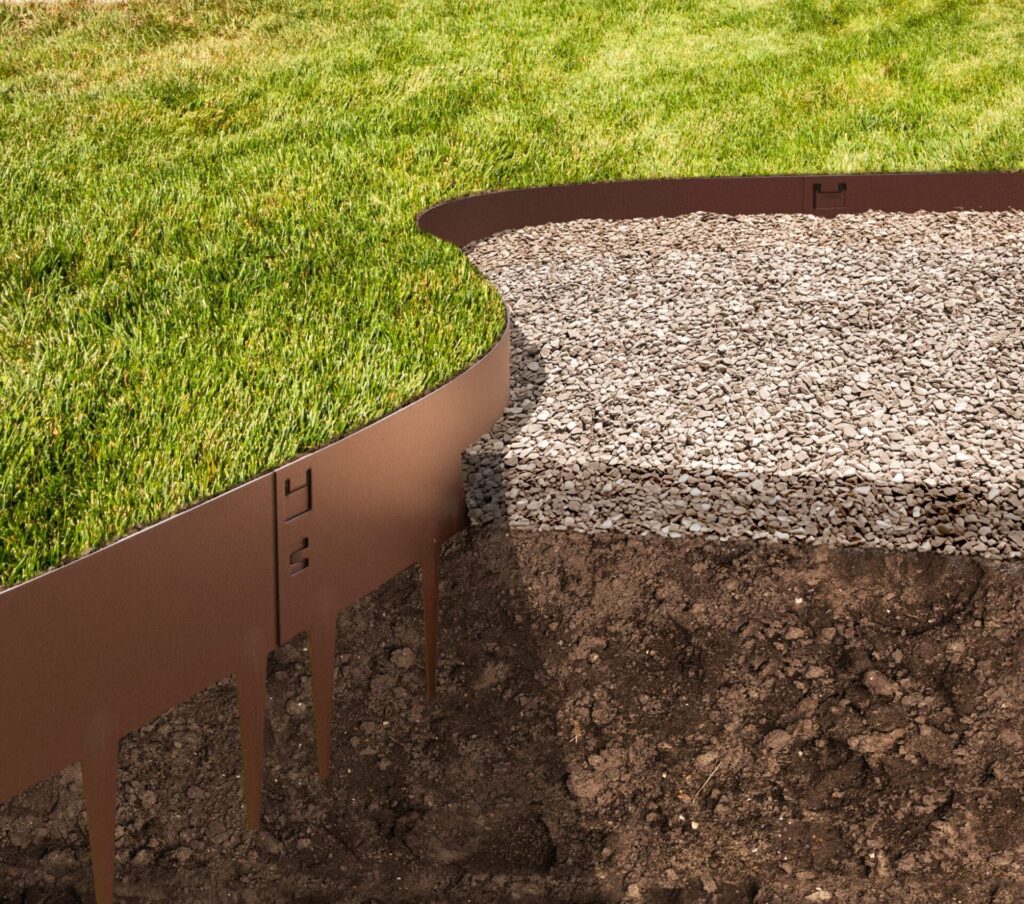
Each section has built-in spikes that hold the edging firmly in the ground, leaving only the steel edge visible above the surface.
Do not secure the section fully at this point. Leave it loose enough to make small changes to its position and check that it follows the intended line.
Continue checking the alignment as each section is added. This is especially important when creating curves, where small adjustments will help produce a smoother overall shape.
Step 4: Connect Each Length
One of the practical features of EverEdge Classic is its simple joining system. It is supplied in one-metre sections that interlock to form a continuous edge.
Connect the next section and position it along the marked route. The joining system keeps visible gaps to a minimum and helps create a consistent appearance across the finished border.
Check the alignment after each section rather than waiting until the full run has been assembled. It is much easier to make small adjustments as you go rather than once the edging has been secured.
Step 5: Secure The Lawn Edging
Once the edging is in the right position, begin securing the integrated spikes with a rubber or wooden mallet.
Work gradually along the length, tapping each area down a little at a time. Avoid driving one end fully into the ground before moving on, as this can make the edging uneven or pull it away from the planned line.
Keep checking that the top remains level and upright as you work. A spirit level can be useful on straight sections, while stepping back regularly will help you judge longer runs and curves.
Once secured, the edging should form a firm and consistent boundary between the different areas of the garden.
Step 6: Backfill And Finish
After the edging has been secured, return the soil around the base where needed.
The surrounding ground should then be lightly compacted to support the edging and create a neat finish.
The steel profile should sit discreetly within the garden, leaving a clean border that keeps lawns, planting areas and pathways clearly separated.
The result is a garden that feels tidy, organised and easier to maintain throughout the year.
Common Installation Tips
A few simple checks can make the installation process easier and improve the finished result.
Plan the full route before starting, particularly when the design includes curves. A hose or rope can be moved around until the shape feels balanced and natural.
Prepare hard or stony ground rather than trying to force the spikes straight through it. Removing obstacles first will make the edging easier to position and help prevent an uneven finish.
Check the line regularly as the work progresses. It is much easier to correct one section at a time than to adjust the entire edge after it has been secured.
Finally, tap the spikes into the ground evenly. Working gradually along each section will help maintain a consistent height from beginning to end.
Small details can make a noticeable difference to the final result.
Why EverEdge Classic Makes Installation Easier
EverEdge Classic has been designed to make installation as simple as possible while still creating a strong, long-lasting edge.
The flexible steel profile can be shaped into straight lines and flowing curves, so it can follow a wide range of garden layouts without extensive cutting or shaping. Each section interlocks with the next, while the integrated spikes secure the edging directly into the ground.
Its galvanised steel construction also means there is very little maintenance to think about once the work is complete. The edging remains durable, keeps its shape and continues to define the garden as the years pass.
A Lasting Finish For Every Garden
A clear lawn edge can change the feel of the whole garden. Borders and pathways appear more defined, whilst grass and loose materials are easier to keep under control.
Once installed, metal lawn edging should support the design rather than draw attention to itself. The slim profile of EverEdge Classic creates the structure needed while allowing lawns, planting and other features to remain the focus.
At EverEdge, we design our edging to provide this balance of practical strength and clean appearance.
Our step-by-step installation video shows the full process in action, making it easier to see how each section should be positioned, connected and secured.
Ready To Install EverEdge Classic
Whether a new garden is being created or an existing space being refreshed, correctly installed metal lawn edging creates a strong and lasting structure.
Explore our EverEdge Classic range to find the right height and finish for your project, then follow this guide and installation video to create neat lawn edges throughout your garden.